The Ultimate Guide to Moonlight Game Streaming: Setup, Optimization, and the Network Optimization guide
I've been game streaming for years now, and I can honestly say that Moonlight paired with Sunshine has completely changed how I play games. What started as an experiment to play PC games on my phone has turned into my primary way of gaming around the house. I stream to my TV, my tablet, and yes, even my phone when I'm feeling lazy in bed.
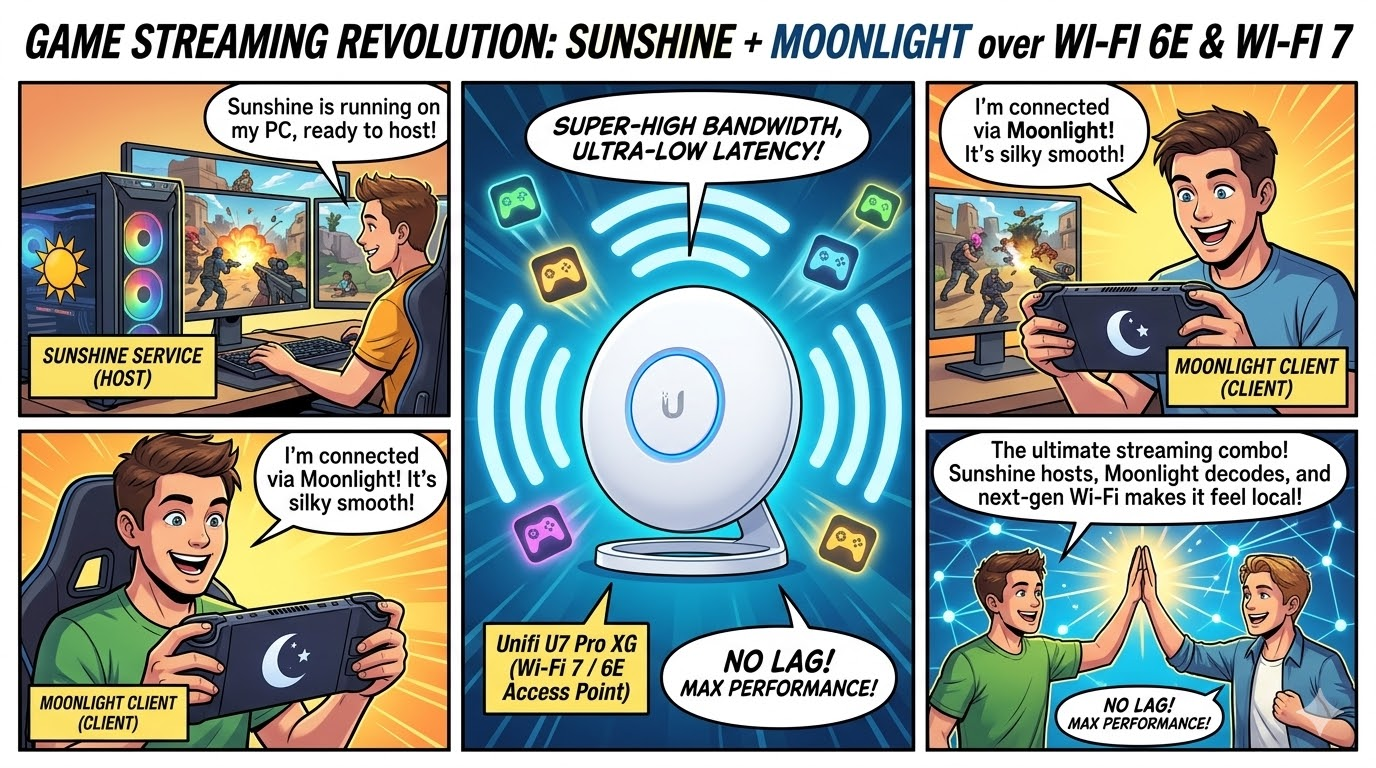
In this guide, I want to share everything I've learned about setting up Moonlight with Sunshine, optimizing the client settings for the best possible image quality, and how upgrading to WiFi 6E (and eventually WiFi 7) made a massive difference in my wireless streaming experience.
What Are Moonlight and Sunshine?
For those unfamiliar, Moonlight is an open-source game streaming client that originally started as a hackathon project back in 2013. It connects to a streaming server and displays your PC's output in real-time while sending your controller inputs and mouse movements back. Think of it as a window into your gaming PC from any other device.
Sunshine is the streaming host that runs on your gaming PC. It's developed by the LizardByte community and has become the go-to solution since NVIDIA started phasing out GeForce Experience. What I love about Sunshine is that it works with any GPU, whether you're running NVIDIA, AMD, or Intel. It captures your screen, encodes the video using hardware acceleration, and streams it to your Moonlight client.
I've tried other solutions like Parsec and Steam Link, but the Moonlight and Sunshine combo gives me the most control and consistently delivers the best results. I can stream at 4K, 120 FPS, with HDR when I want to, and the latency is low enough that I've completed entire playthroughs of action games without feeling the need to play from my desk.
Setting Up Sunshine on Your Host PC
Let me walk you through how I set up Sunshine on my gaming rig. It's straightforward, but there are a few things I wish I knew when I first started.
Step 1: Download and Install Sunshine
Head to the Sunshine GitHub releases page and grab the Windows installer. Run it with administrator privileges and let it do its thing.
Step 2: Access the Web UI
Once installed, open your browser and go to:
https://localhost:47990
The first time you access this, you'll create a username and password. I recommend using something secure, especially if you ever plan to stream over the internet. This dashboard is where all the magic happens.
Step 3: Configure Your Streaming Settings
I spent a lot of time tweaking settings when I first started, but honestly, the defaults are pretty solid. Here's what I adjusted:
Video Settings: I left the encoder presets alone. The Sunshine developers optimized these for low latency, and in my testing, changing them rarely improved things. If anything, I made things worse by trying to get fancy.
Applications: Sunshine comes with Steam and Remote Desktop pre-configured. I added a few games manually by pointing to their executables. This is useful for non-Steam games or if you want to launch something specific without going through Steam first.
Step 4: Firewall Configuration
The installer should handle Windows Firewall automatically, but if you run into connection issues, make sure these ports are open:
- TCP: 47984, 47989, 47990, 48010
- UDP: 47998, 47999, 48000, 48002, 48010
I had to manually add a rule once after a Windows update reset some of my firewall settings, so keep this in mind if things suddenly stop working.
Setting Up Moonlight on Your Client Device
Moonlight runs on pretty much everything. I have it installed on my Fedora laptop (flatpak in the app store), my Android phone, and my Steam Deck in the past. The setup process is similar across all platforms.
Installation
You can download Moonlight from:
- Desktop: moonlight-stream.org or GitHub
- Android: Google Play Store
- iOS/tvOS: App Store
- Steam Deck: Flatpak in Desktop Mode (this is how I installed it)
Pairing with Sunshine
This part is easy:
- Launch Moonlight on your client device
- If you're on the same network, your Sunshine server should appear automatically
- Click on it to start pairing
- You'll see a four-digit PIN on your client
- Enter that PIN in Sunshine's web UI under the "PIN" tab
- That's it. You're paired.
I only had to do this once per device. After pairing, Moonlight remembers your server and connects automatically.
Optimizing Moonlight Client Settings for Maximum Fidelity
This is where I spent most of my time experimenting. The default settings work, but they're conservative. With some tweaking, I got my stream looking almost identical to playing directly on my PC.
Resolution and Frame Rate
I match the resolution to whatever display I'm streaming to.
For frame rate, I've settled on 120 FPS for anything competitive or fast-paced. The reduced input latency is noticeable. For slower games or when I'm just streaming my desktop, 60 FPS is fine and saves some bandwidth.
Bitrate: The Setting That Matters Most
Bitrate controls how much data is used to encode your video stream. Higher bitrate means better image quality, especially in scenes with lots of movement or fine detail. But push it too high and your network can't keep up, causing stuttering.
Video Codec Selection
You have three codec options, and this choice matters more than I initially realized.
H.264: The oldest option and the most compatible. Every device can decode it quickly. I use this when troubleshooting or on older hardware. The downside is it needs more bandwidth for the same quality.
HEVC (H.265): This is my daily driver. It looks better than H.264 at the same bitrate, and the decoding latency on modern devices is basically the same. Unless you have a specific reason to use something else, HEVC is the sweet spot.
AV1: The newest codec with the best compression. I switched to AV1 on my newer devices and the quality improvement at lower bitrates is real. The catch is both your host GPU and client device need to support it.
V-Sync Settings
This one's personal preference. V-Sync synchronizes the stream to your display's refresh rate, which eliminates screen tearing but adds about one frame of latency.
I keep V-Sync off for competitive multiplayer games where every millisecond counts. For single-player games or when I'm just enjoying something casually, I turn it on because the smoother image is worth the tiny latency increase.
Hardware Decoding
Make sure this is enabled. Always. Software decoding adds significant latency and kills your client device's battery. Every modern phone, tablet, and computer has hardware video decoders that handle game streams efficiently.
Other Settings I Adjusted
Mouse Acceleration: I matched this to my host PC's settings. It felt weird at first when they didn't match.
Mute Host Audio: Essential when I'm in the same room as my PC. Otherwise you get a distracting echo.
Surround Sound: I enabled 5.1 pass-through for my TV setup. Made a big difference in immersion.
Network Optimization: The Foundation of Great Streaming
I can't stress this enough: your network is everything. No amount of software tweaking will fix a bad network connection. I learned this the hard way before I invested in proper infrastructure.
Wired is King
My gaming PC is hardwired to my router with Ethernet. Period. This single change eliminated 90% of the random stutters I experienced when I first started streaming. If your PC isn't wired, make that your first priority.
For client devices, wired connections are often impractical (the whole point is wireless freedom), but if you're streaming to a TV or a stationary device, a USB-to-Ethernet adapter is worth considering.
WiFi Optimization Basics
When wireless is your only option, these fundamentals apply regardless of what WiFi generation you're using:
Get closer to your router. Every wall and obstacle between you and the access point degrades signal quality. When I stream from my bedroom (two rooms away from the router), quality suffers compared to streaming from the living room.
Use 5 GHz or 6 GHz. The 2.4 GHz band is too congested and too slow for game streaming. I configured all my devices to prefer higher frequency bands.
Check for channel congestion. I downloaded a WiFi analyzer app and found that my neighbors were all using the same 5 GHz channel. Switching to a less crowded channel made a noticeable difference.
Disable power saving. Mobile devices throttle WiFi to save battery. Look for performance mode or gaming mode settings and enable them while streaming.
Minimize competing traffic. If someone else in my house is downloading a large file or streaming 4K video, my game stream suffers. Set up QoS to prioritize my streaming traffic.
The WiFi 6E and WiFi 7 Advantage for Game Streaming
Upgrading to WiFi 7 was one of the best decisions I made for my streaming setup. I have the UniFi U7 Pro XG.
My Experience with WiFi 6E
When I upgraded to a WiFi 7 AP and got a compatible WiFi 6E card for my laptop, the improvement was dramatic. Here's why:
The 6 GHz band is empty. Only WiFi 6E devices can use it. No interference from my neighbor's ancient router, no Bluetooth conflicts, no smart home devices clogging things up. It's a clean, dedicated highway for my game stream.
More channels mean less interference. The 6 GHz spectrum has 59 non-overlapping channels compared to the crowded 5 GHz band. Even in my apartment building with dozens of WiFi networks visible, the 6 GHz band stays clean.
Consistent latency is the real win. Raw speed was never my issue. I don't need gigabit WiFi to stream a 100 Mbps video. What I needed was consistent packet delivery without random delays. The 6 GHz band delivers that. My stream stutters far less frequently now.
Wider channels help too. WiFi 6E supports 160 MHz channels, which gives more bandwidth headroom. I can push higher bitrates without worrying about saturation.
I recently upgraded my AP to WiFi 7, and while I'm still waiting on more WiFi 7 client devices, the technology looks promising for game streaming.
Multi-Link Operation (MLO) is the big deal. Instead of connecting to one band at a time, WiFi 7 devices can use 2.4 GHz, 5 GHz, and 6 GHz simultaneously. If one band experiences interference, data flows through another automatically. In theory, this could reduce latency variability dramatically. For game streaming, where consistent packet delivery matters more than raw speed, this is huge.
320 MHz channels double the available bandwidth. More headroom for sustained high-bitrate streaming.
4K-QAM improves efficiency. About 20% more data throughput compared to WiFi 6E using the same airwaves.
Latency can drop to around 2 milliseconds. That's approaching wired territory.
I'm not saying everyone needs to rush out and buy WiFi 7 gear today. But if you're building a new setup or upgrading anyway, it's worth considering for the future.
Hardware You'll Need
To take advantage of these technologies, both your AP and your client device need to support them.
- Intel AX210/AX211
- Intel BE200/BE202
For your wireless access points, I recommend the UniFi U7 Pro XG
The Range Trade-Off
One thing to keep in mind: higher frequencies mean shorter range. The 6 GHz band doesn't penetrate walls as well as 5 GHz, and 5 GHz doesn't penetrate as well as 2.4 GHz.
For game streaming, this usually isn't a problem since you want to be relatively close to your access point anyway. But if you're streaming in a different part of your home, consider a mesh system that puts a WiFi 6E or WiFi 7 AP near your streaming location. That's what I did, and it solved my coverage issues.
Final Thoughts
Moonlight and Sunshine have genuinely changed how I game. I used to be tied to my desk, but now I play on my couch, in bed, or even in the backyard when the weather's nice. The setup takes some effort to get right, but once it's dialed in, the experience is remarkable.
If you're on the fence about trying game streaming, I'd encourage you to give it a shot. Start with the defaults, pair your devices, and see how it feels. Then come back to this guide and start optimizing once you understand what your specific setup needs.
And if you're still on an older WiFi router, consider upgrading to WiFi 6E or 7. That single change made the biggest difference in my wireless streaming quality. The 6 GHz band really is that much better for latency-sensitive applications.
Happy streaming!